You may have noticed that configuring the shipping address fields in WooCommerce isn't as straightforward as you might think. Let's look at some things you can add and customize.
The shipping address option missing in WooCommerce checkout. How do I enable it?
Hold on! The ‘ship to a different address’ section isn't shown by default?
The shipping address option missing in WooCommerce checkout. How do I enable it?
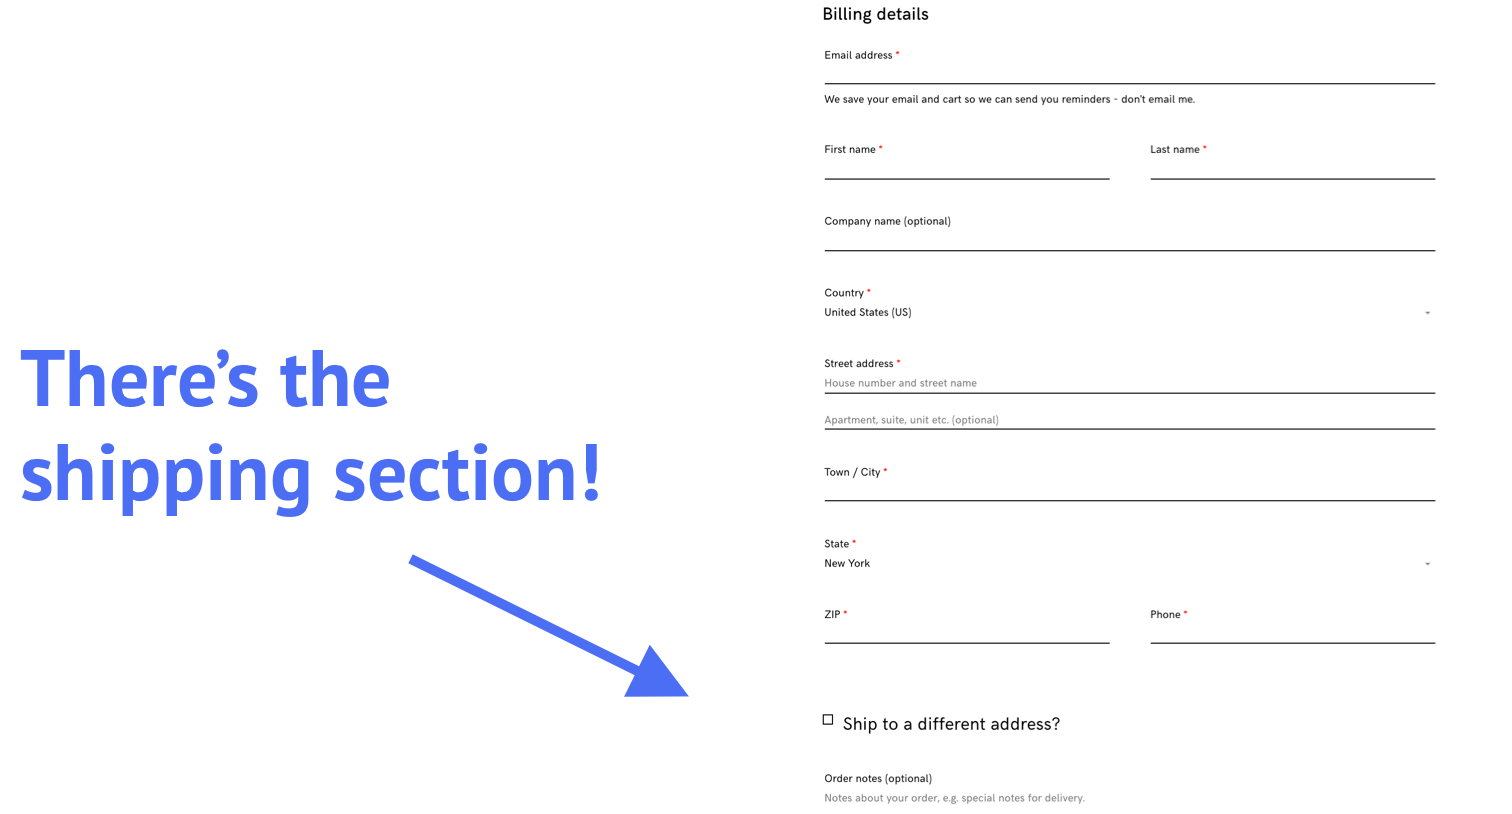
The first thing that might have caught your eye when first configuring your WooCommerce store is that the shipping address section isn't shown by default:
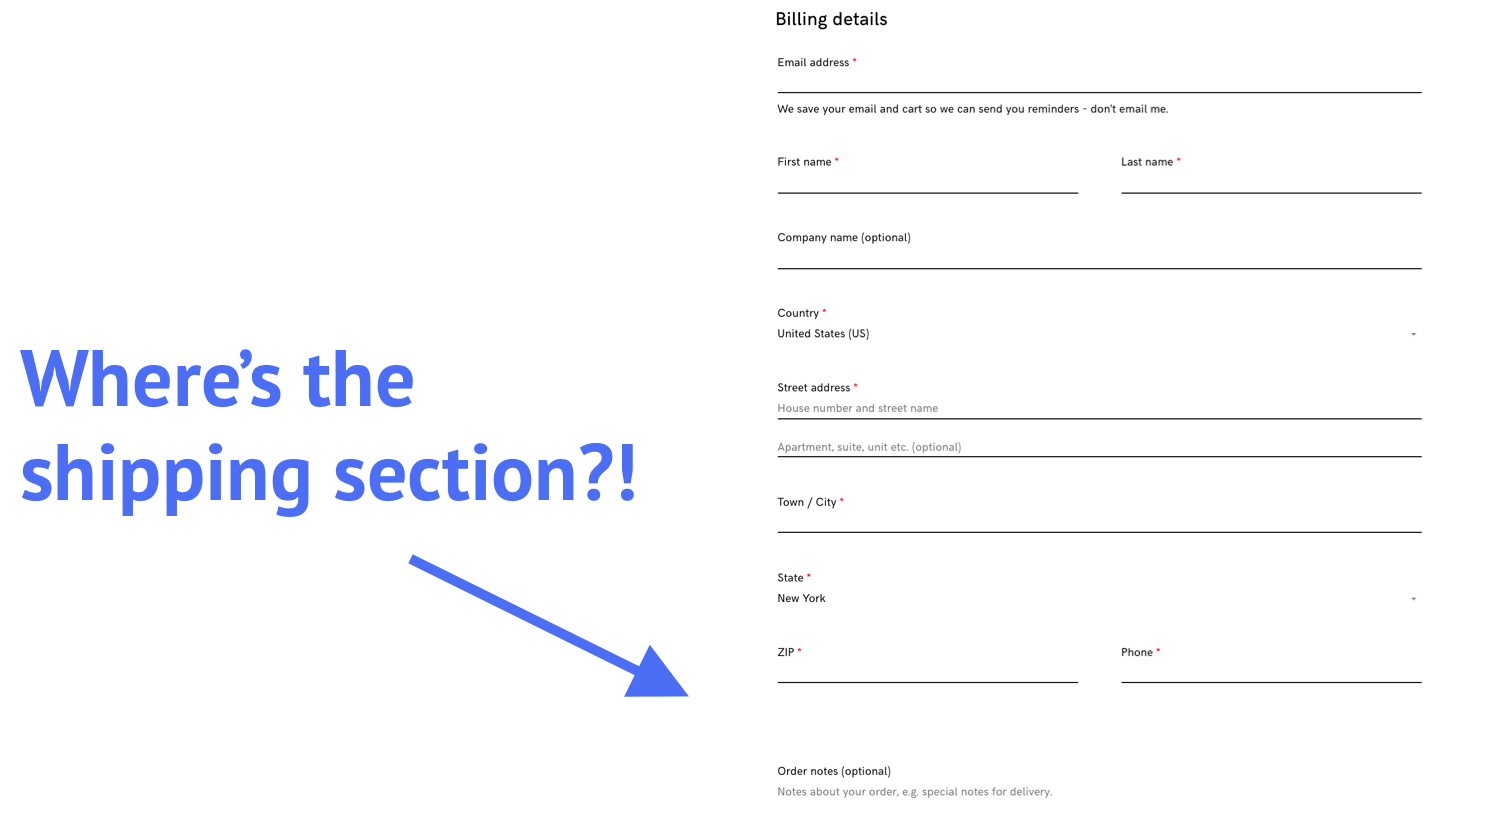
Luckily, adding the shipping address section is quick and easy:
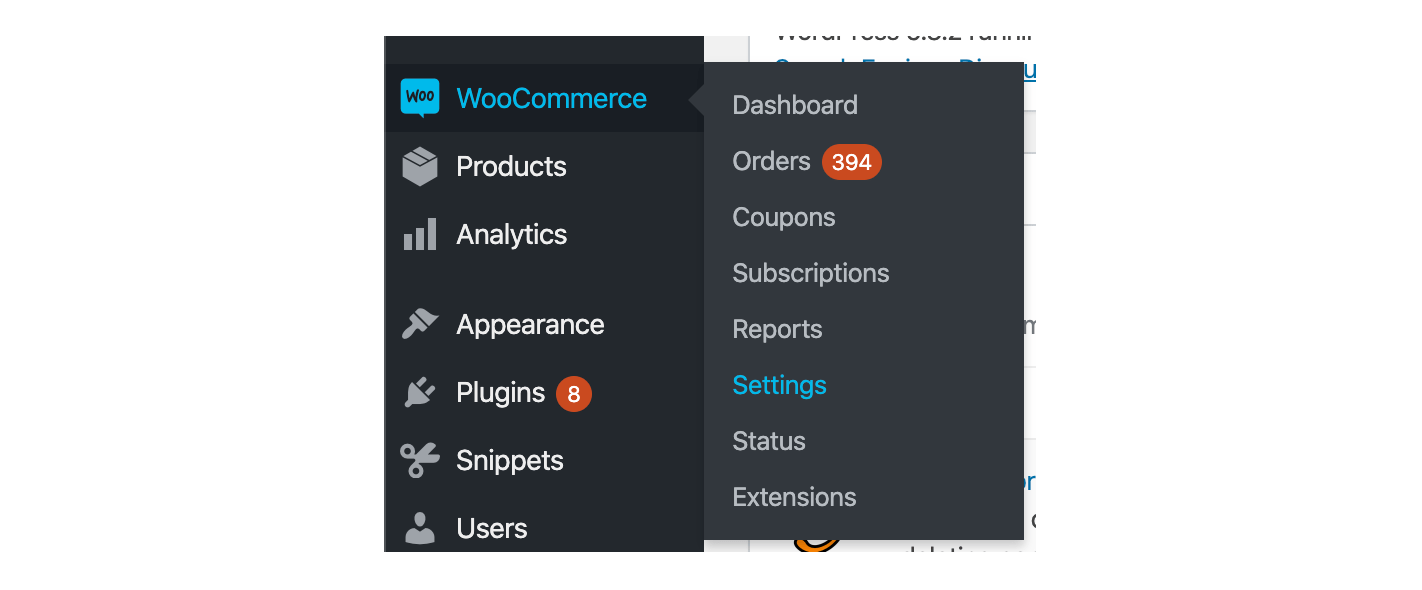
1. From your WordPress admin, hover WooCommerce in the sidebar and then click settings:
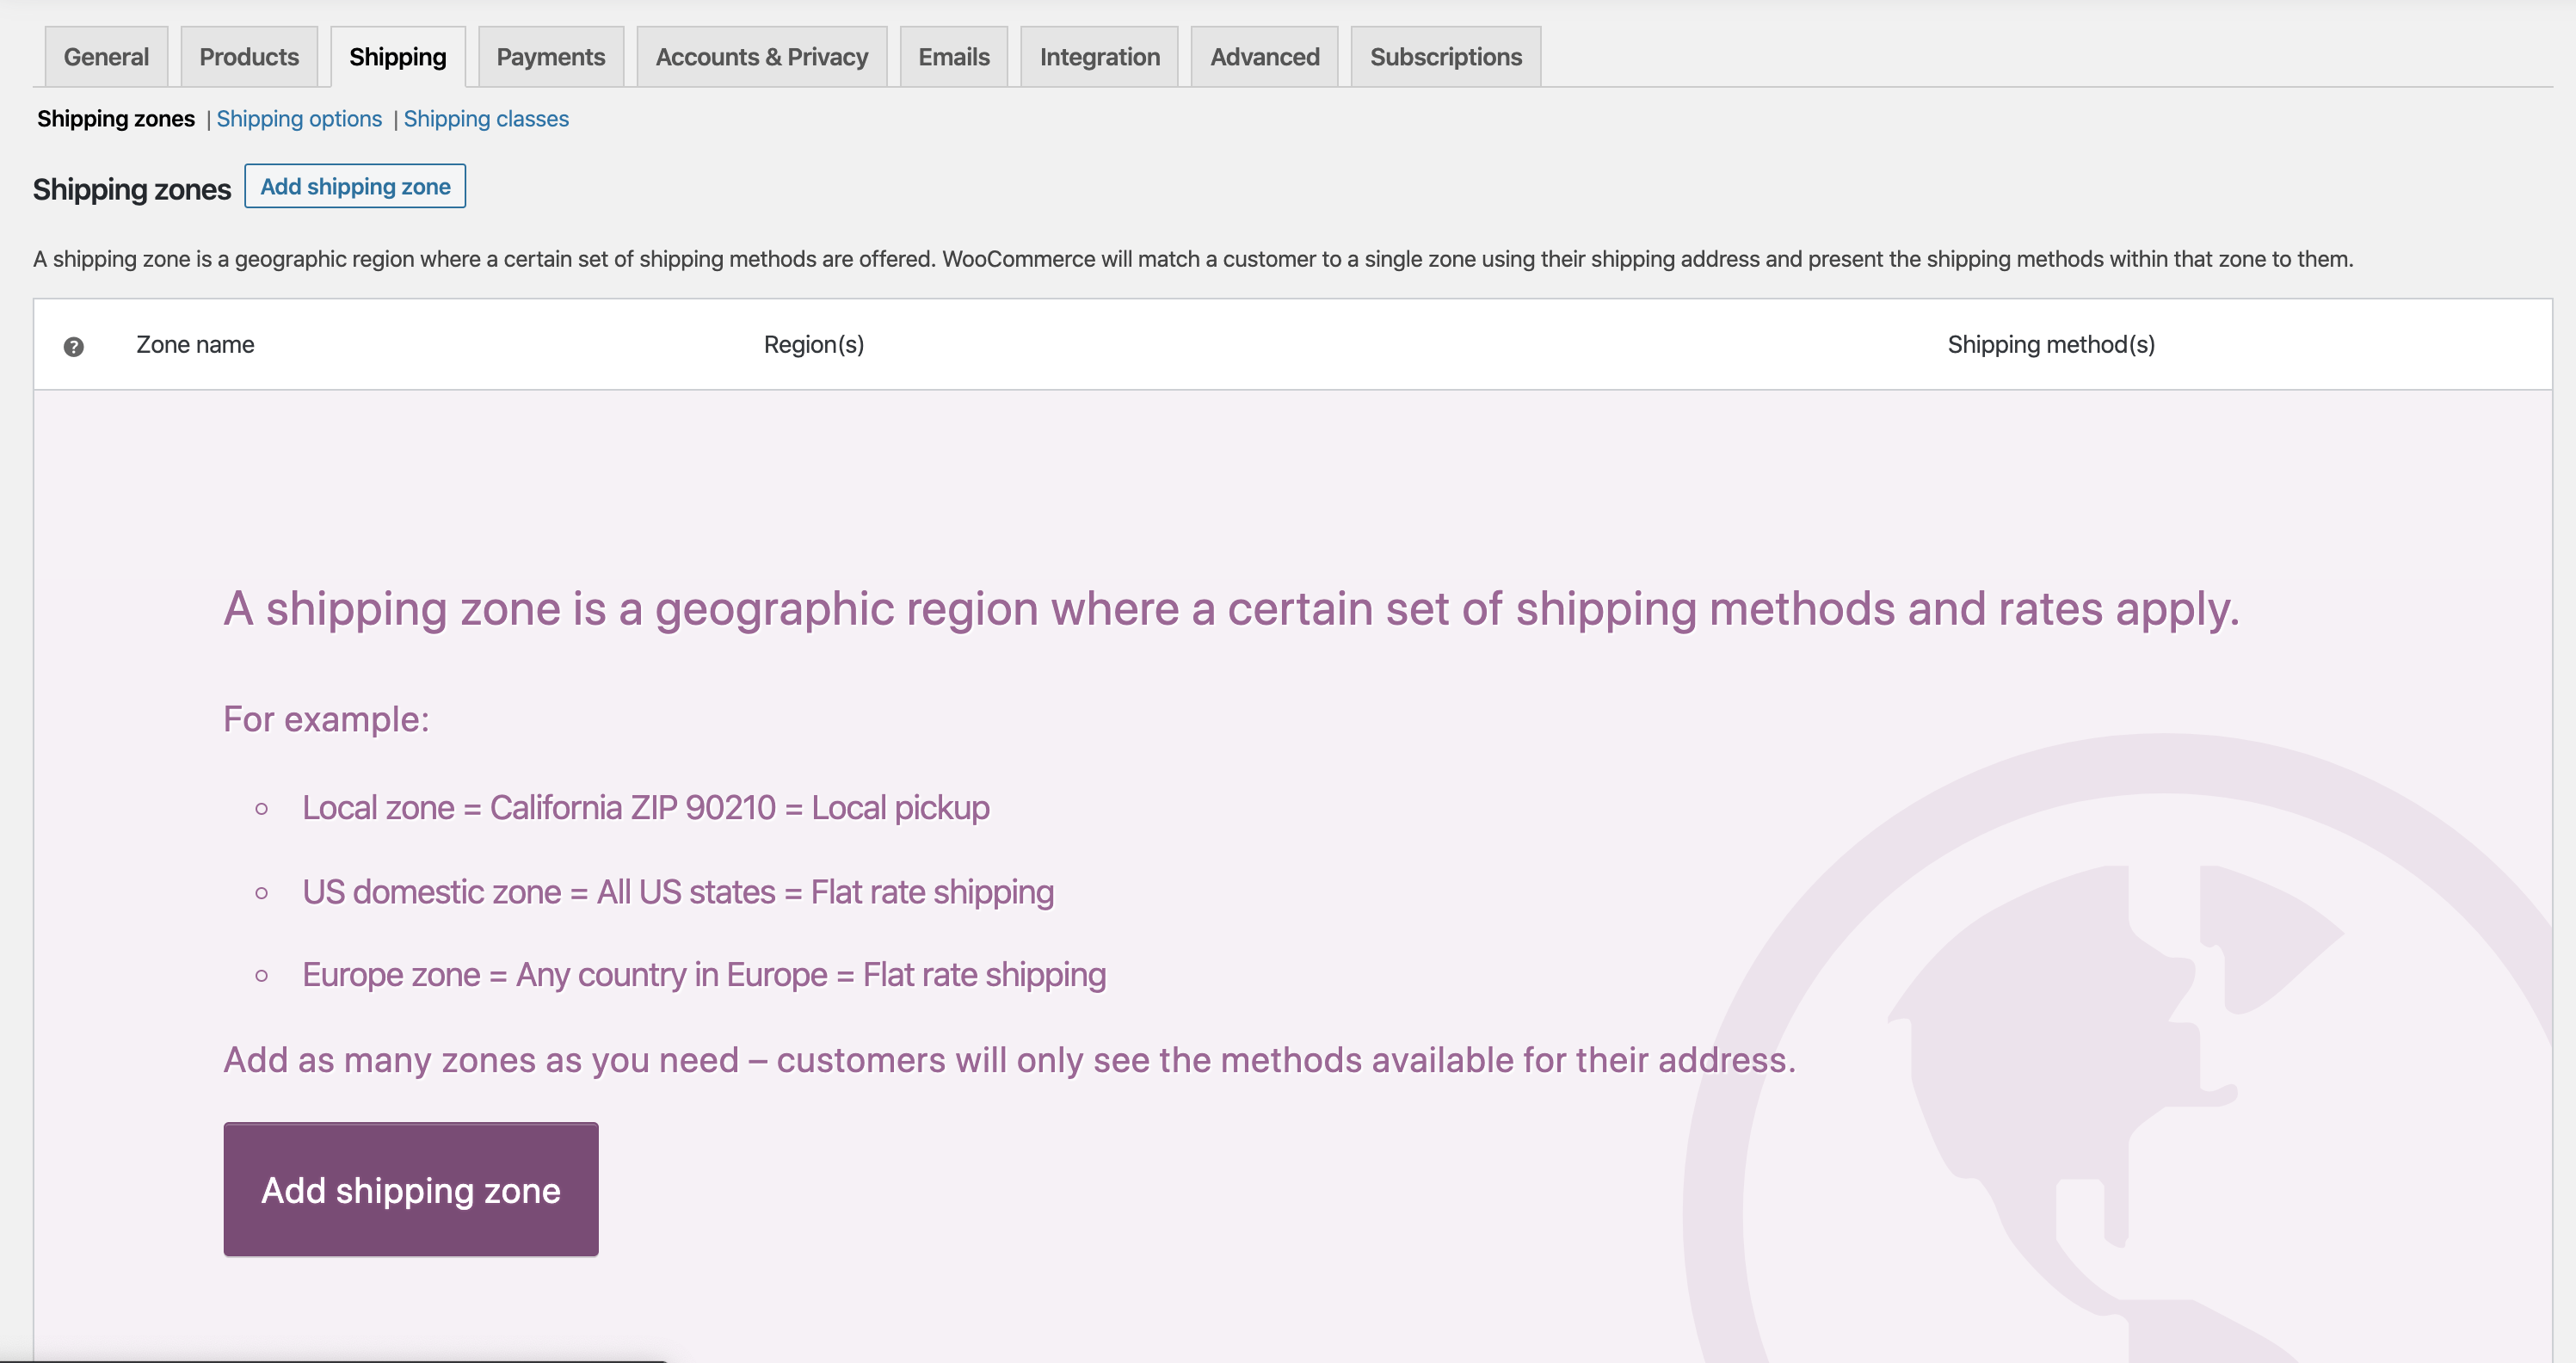
2. Click on the shipping tab and then click 'add shipping zone':
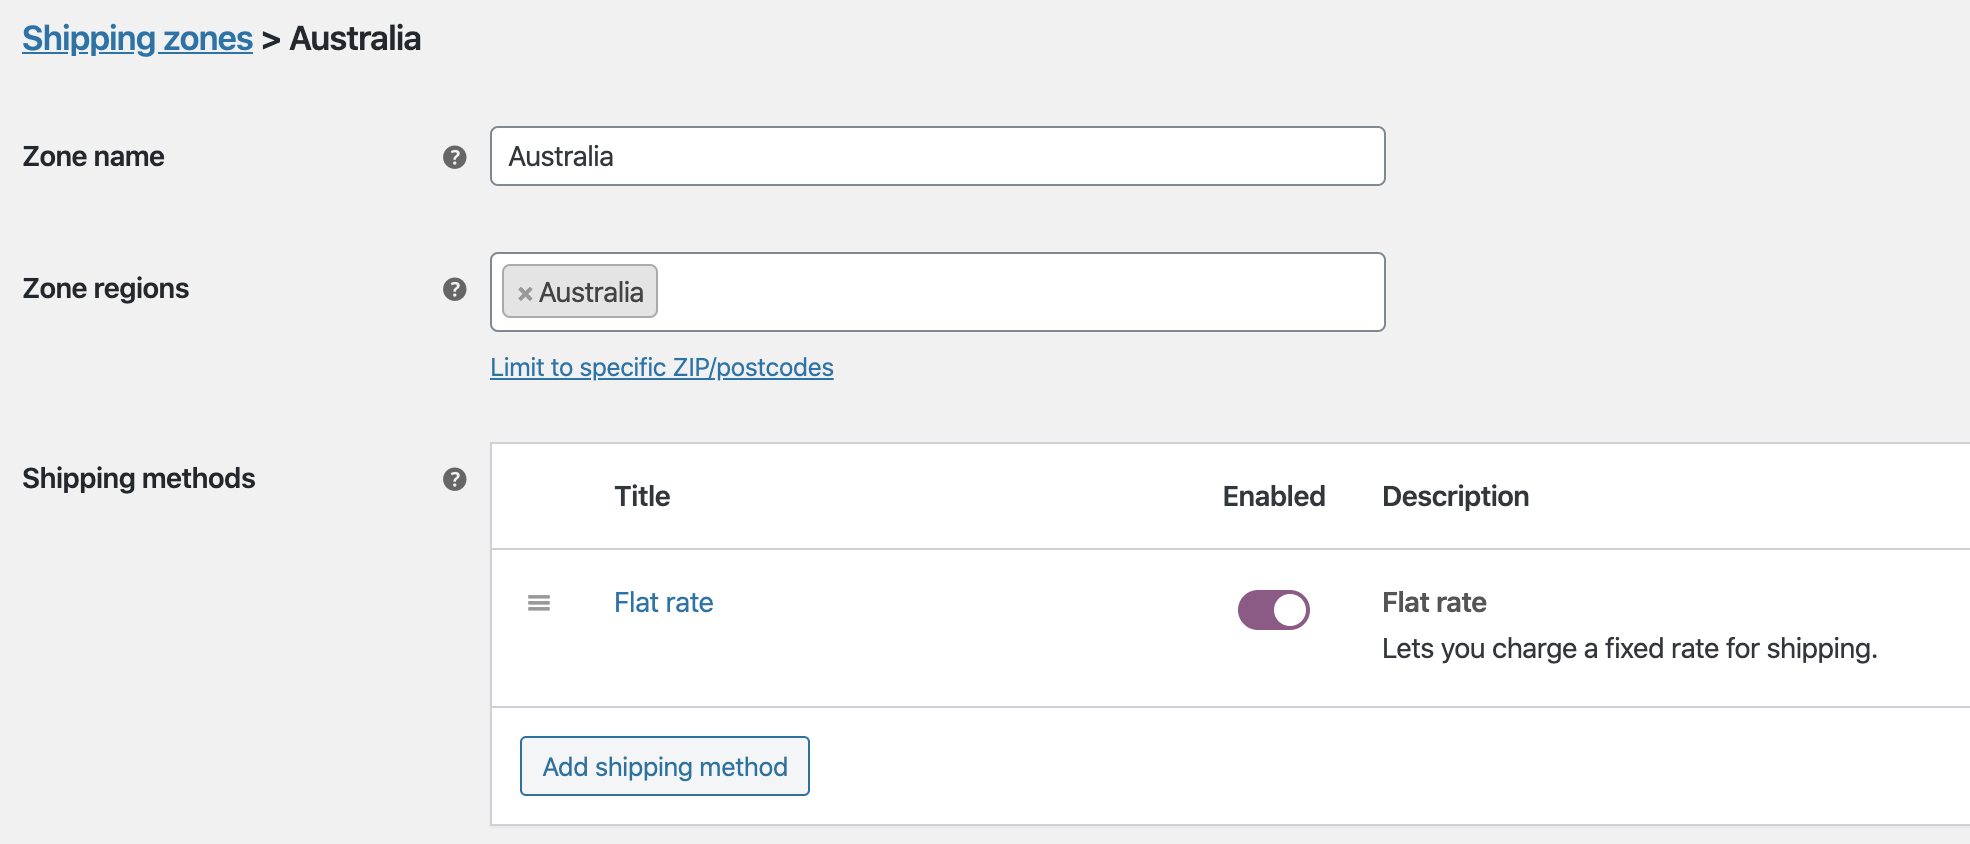
3. Type in the zone name, the areas this zone will cover, and the types of shipping methods you will offer. I've chosen Australia and flat rate shipping. For more information on shipping methods in WooCommerce, check out the WooCommerce docs:
4. Click save and you are done! Head to your checkout page and you will see that the shipping section is now there:
Hold on! The ‘ship to a different address’ section isn't shown by default?
You're marvelling at your beautiful new shipping address section when the smile on your face quickly vanishes. "My customers will have to check the box to show the shipping fields every time they purchase a product?!"
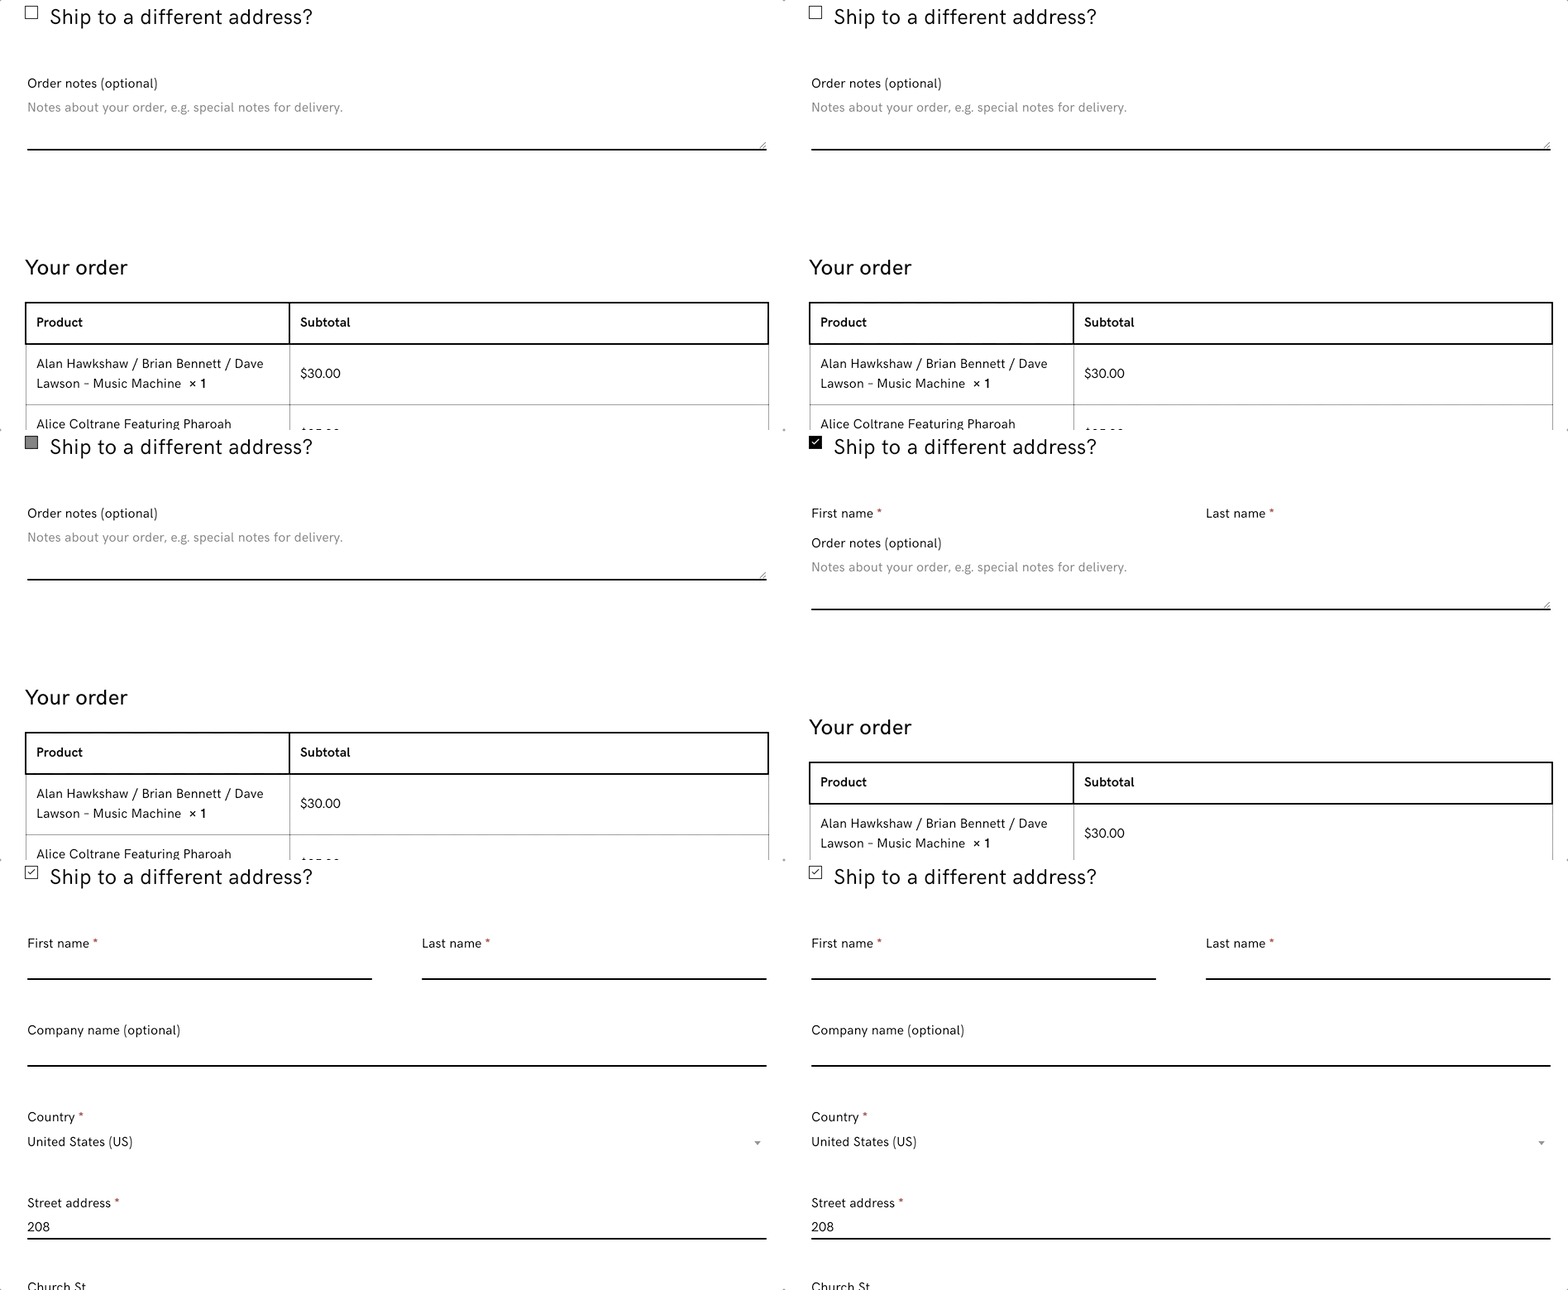
Yes, this is default setting for this in WooCommerce. The good news is that we can have these fields show by default with this 1 line of code:
You can add this line of code directly to your theme's functions.php file.
However, we think it's best practice to use a plugin that allows you to easily add code snippets into your theme. Go ahead and install a code snippet plugin — we are using code snippets.
Then paste in this line of code into the code snippet plugin (or the functions.php if you are comfortable using PHP):

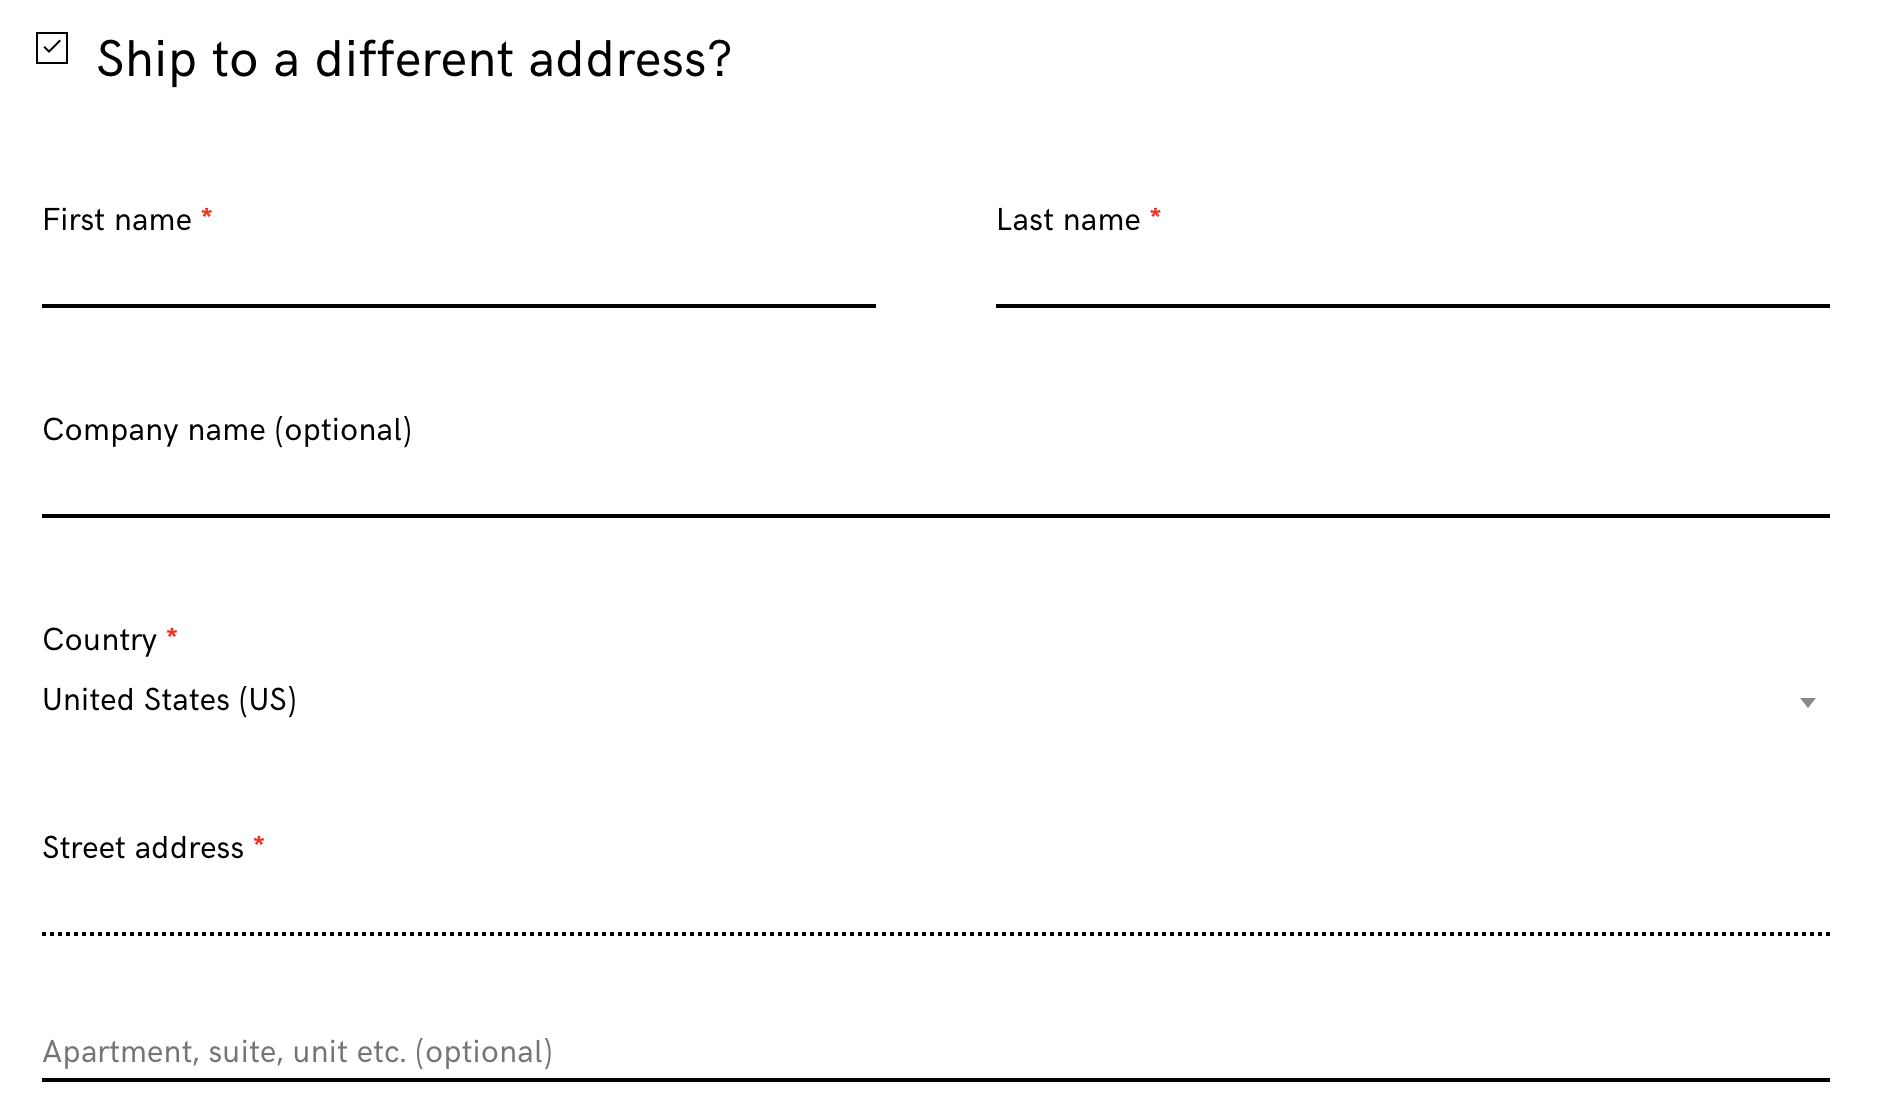
And that's it, the ship to a different address section will now automatically be displayed by default when the checkout page is loaded:

-1549438730.jpg)
