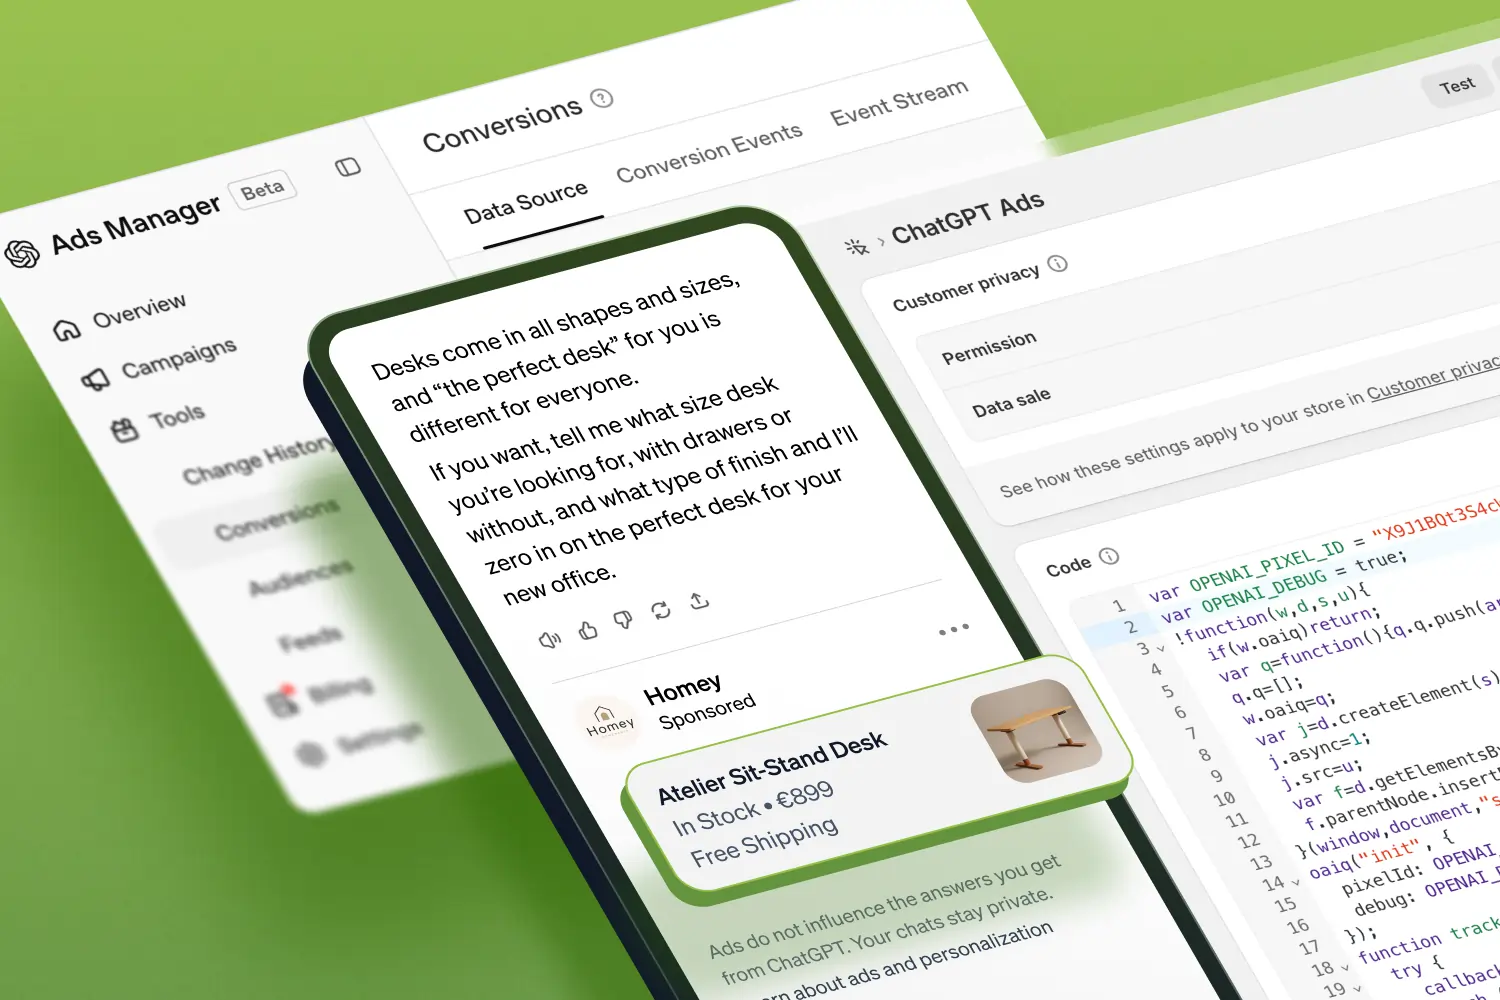

ChatGPT Ads are still new territory for a lot of ecommerce stores. But the measurement side already follows a familiar pattern: add a browser pixel, initialize it with your Pixel ID, and send conversion events when shoppers do meaningful things on your store.
For Shopify stores, the cleanest way to do this is usually through Customer events → Custom pixel in the Shopify admin. That means you can add the ChatGPT pixel without installing an app, editing your theme code, or setting up Google Tag Manager – Shopify's built-in custom pixel is all you need.
This post walks through a simple setup for the OpenAI Ads Measurement Pixel, which is the pixel used to measure events after someone clicks an ad in ChatGPT. We'll wire up four useful Shopify events:
Page viewed
Product added to cart
Checkout started
Checkout completed / purchase
We'll also cover the two small Shopify-specific details that tend to trip people up:
Shopify custom pixels should be pasted as JavaScript only, without
<script>tags.Shopify only tracks customer behavior when your custom pixel subscribes to events using
analytics.subscribe(...).
Before you start
You'll need:
Access to your Shopify admin.
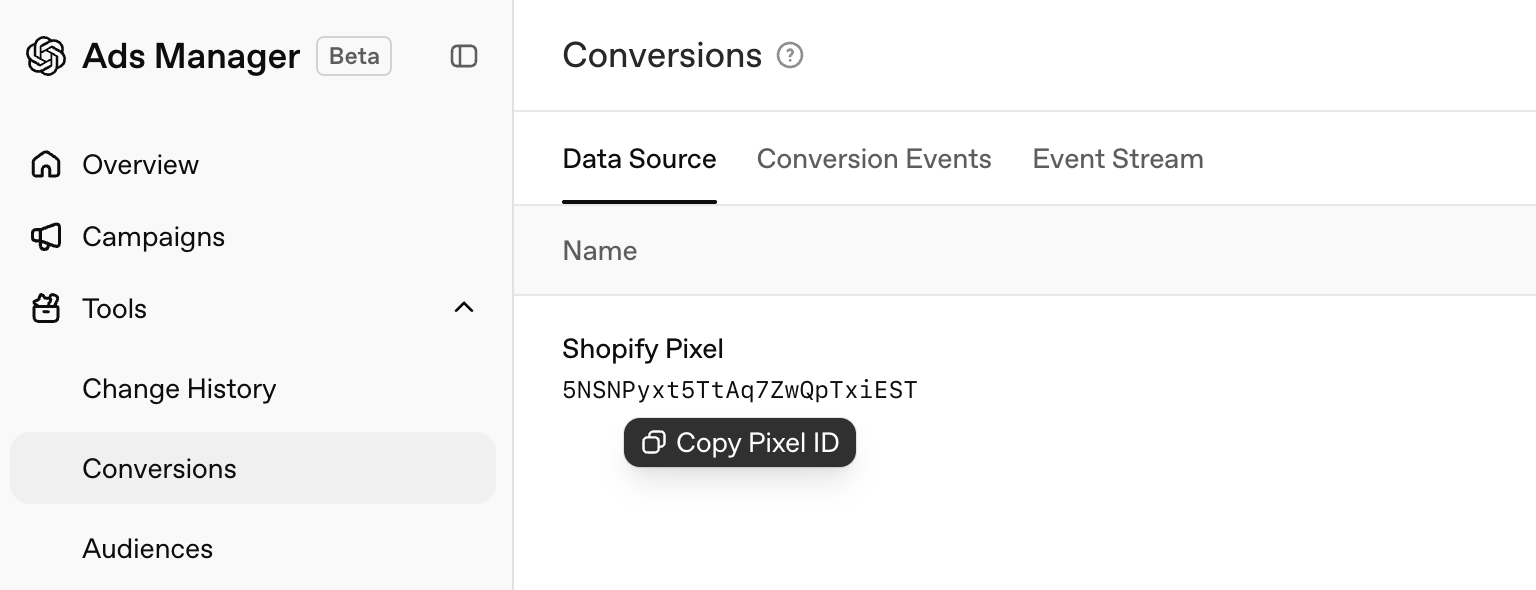
Your OpenAI Ads Pixel ID from Ads Manager.
The OpenAI conversion events you want to measure.
The code below is written for Shopify's custom pixel sandbox. It is not meant for theme.liquid, Google Tag Manager, or a Shopify app extension.
Shopify's custom pixel editor expects JavaScript, so if OpenAI gives you a snippet wrapped in:
<script>
  ...
</script>
you should remove the opening and closing <script> tags before pasting it into Shopify.
Install the ChatGPT Ads pixel with a Shopify custom pixel
In Shopify, go to:
Settings → Customer Events → Add Custom Pixel
Give the pixel a name, for example:
OpenAI Ads or ChatGPT AdsThen from ChatGPT Ads, copy and paste the code below into the pixel editor, making sure to replace YOUR_OPENAI_ADS_PIXEL_ID with your own Pixel ID from OpenAI Ads Manager.
Code snippet to add ChatGPT pixel to Shopify
var OPENAI_PIXEL_ID = "YOUR_OPENAI_ADS_PIXEL_ID";
var OPENAI_DEBUG = true;

!function(w,d,s,u){
  if(w.oaiq)return;
  var q=function(){q.q.push(arguments)};
  q.q=[];
  w.oaiq=q;
  var j=d.createElement(s);
  j.async=1;
  j.src=u;
  var f=d.getElementsByTagName(s)[0];
  f.parentNode.insertBefore(j,f);
}(window,document,"script","https://bzrcdn.openai.com/sdk/oaiq.min.js");
oaiq("init", {
  pixelId: OPENAI_PIXEL_ID,
  debug: OPENAI_DEBUG
});
function trackOpenAI(callback) {
  try {
    callback();
  } catch (error) {
    if (OPENAI_DEBUG && console) {
      console.warn("OpenAI Ads pixel error:", error);
    }
  }
}

// Page view
analytics.subscribe("page_viewed", function (event) {
  trackOpenAI(function () {
    oaiq("measure", "page_viewed", { type: "contents" });
  });
});

// Add to cart
analytics.subscribe("product_added_to_cart", function (event) {
  trackOpenAI(function () {
    oaiq("measure", "items_added", { type: "contents" });
  });
});

// Checkout started
analytics.subscribe("checkout_started", function (event) {
  trackOpenAI(function () {
    oaiq("measure", "checkout_started", { type: "contents" });
  });
});

// Purchase
analytics.subscribe("checkout_completed", function (event) {
  trackOpenAI(function () {
    oaiq("measure", "order_created", { type: "contents" });
  });
});
Save the pixel, then connect it.
Why the Shopify event names are different
Shopify and OpenAI use slightly different event names, so we need to map them.
Shopper action | Shopify event | OpenAI Ads event |
|---|---|---|
A page is viewed |
|
|
A product is added to cart |
|
|
Checkout starts |
|
|
Purchase completes |
|
|
 Shopify event
 OpenAI Ads event
The purchase one is the main detail to notice. In Shopify's Web Pixels API, checkout_completed is the event that fires when a visitor completes a purchase. OpenAI's standard ecommerce purchase event is order_created.
Fixing Shopify's "not subscribed to any events" warning
If Shopify shows this warning below, it means Shopify has not detected event subscriptions in your custom pixel.
Pixel will not track any customer behavior because it is not subscribed to any events.Make sure your code includes top-level calls like this:
analytics.subscribe("page_viewed", function (event) {
  // send event to your pixel
});
Shopify's editor is much happier when analytics.subscribe(...) calls are written directly in the custom pixel code, instead of hidden inside another wrapper function.
Turn off debug mode before publishing
While testing, keep this line set to true:
var OPENAI_DEBUG = true;OpenAI's docs say debug mode logs SDK activity in the browser console while you test the integration.
Once you have confirmed the pixel is working, change it to:
var OPENAI_DEBUG = false;Then save the pixel again.
Test the ChatGPT pixel on your Shopify store
After saving and connecting the custom pixel, test the normal shopper journey:
Visit your storefront.
View a product.
Add a product to cart.
Start checkout.
Complete a test purchase, if possible.
Open your browser console while testing if OPENAI_DEBUG is still true.
You can also check OpenAI Ads Manager to confirm that the pixel is active and that events are being received. There may be a delay before events appear in reporting.
How long does it take to see events?
When you're testing the pixel, the actual browser request should happen almost immediately after the Shopify event fires, however in our testing we found there can be a 10-30 second delay in the event showing in ChatGPT Ads “Event Stream”.
For example, after you visit a page, add a product to cart, or start checkout, you should usually see the OpenAI pixel request in your browser's developer tools within a few seconds. The Events or diagnostics view in OpenAI Ads Manager may take a few minutes to update, so give it around 5-15 minutes before assuming something is broken. Reporting and attribution can take longer again, sometimes several hours.
For the cleanest test, use a fresh incognito window in Chrome with no ad blocker extensions enabled. Avoid testing in privacy-focused browsers like Brave, or in Firefox with strict tracking protection or privacy extensions enabled, because they may block advertising and measurement requests before they ever reach OpenAI.
If page views are appearing but another event is not, that usually means the pixel is installed correctly and the issue is with that specific Shopify event path. Start the OpenAI Ads Manager event poll first, then trigger a fresh event in your test browser:
Open a fresh incognito Chrome window.
Visit the storefront.
Add a product to cart.
Start checkout.
Complete a test purchase, if possible.
Also make sure the custom pixel is connected in Shopify and that your test visitor has granted any customer privacy permissions required for the pixel to run.
What about the Conversions API?
OpenAI also has a server-side Conversions API, but you should not call it directly from Shopify custom pixel JavaScript.
That is because Conversions API requests require server-side authentication. Putting a Conversions API key in browser code would expose it to shoppers and anyone inspecting your storefront.
If you're only working inside Shopify's custom pixel editor, the browser pixel is the right setup. If you later want server-side conversion tracking, do that through a private app, server, or middleware layer where secrets can stay server-side.
Privacy and consent
Shopify custom pixels are tied into Shopify's customer privacy settings.
When you create a custom pixel, Shopify asks you to configure the customer privacy permissions required for the pixel to run. In markets where consent is required, Shopify says web pixels run only when visitors have provided the permissions required by the pixel configuration.
Before publishing, review:
Which permissions your pixel requires.
Whether the data collected qualifies as data sale or sharing in your markets.
Your own privacy policy and consent banner behavior.
This is one of those places where the technical setup is only half the job. Make sure the pixel setup matches your store's legal and privacy requirements.
Final thoughts
Once it is set up, the OpenAI Ads Measurement Pixel gives Shopify merchants a straightforward way to measure what happens after someone clicks an ad in ChatGPT.
The main things to remember are:
Paste JavaScript only into Shopify's custom pixel editor.
Subscribe to Shopify events with
analytics.subscribe(...).Map Shopify events to OpenAI Ads events.
Keep
debug: trueonly while testing.Do not put Conversions API secrets in browser code.
For most Shopify stores, this gets you the core ecommerce funnel: page views, add to cart, checkout starts, and purchases.
Tracking conversions is only half the picture. To see whether the channel is actually profitable, read our guide on how to track ROAS for ChatGPT Ads on Shopify and WooCommerce.
Frequently asked questions
Do I need an app to add the ChatGPT Ads pixel to Shopify?
No. You can add it with a Shopify custom pixel under Settings → Customer events — no third-party app, no theme code edits, and no Google Tag Manager required.
Can I install the ChatGPT pixel without Google Tag Manager?
Yes. Shopify's built-in custom pixel runs the code directly, so you don't need Google Tag Manager or any other tag manager to load or fire it.
Where do I put the ChatGPT pixel code in Shopify?
Go to Settings → Customer events → Add custom pixel, then paste the JavaScript into the editor. Remove the surrounding <script> tags first — Shopify custom pixels expect JavaScript only.
Which events can the ChatGPT pixel track?
Page views, add to cart, checkout started, and purchases. Shopify events (page_viewed, product_added_to_cart, checkout_started, checkout_completed) are mapped to their OpenAI Ads equivalents so conversions are measured after an ad click.
Does the pixel show whether ChatGPT Ads are profitable?
No — the pixel measures conversions, not profit. To judge the channel by what you actually keep, connect Metorik's costs and profit reporting, which folds your ChatGPT Ads spend in alongside COGS, shipping, and transaction fees.