Collecting birthdays for WooCommerce
First you need to ask customers for their birthday.
One option is to use a plugin like Custom User Registration Fields for WooCommerce to add a birthday field to the customer registration form. You'd then be able to segment customers by the birthday field in Metorik.
Or you may want to ask for the birthday during checkout using a plugin like Custom Fields for WooCommerce or one of the many other plugins for 'custom checkout fields' available on WordPress.org. Then you'd be able to segment orders by the birthday field in Metorik.
Set up the automatic emails
We will be using Metorik Engage to send the emails which if you aren't familiar with using yet, you can read about in full on how to set up an email automation in this guide: Building an Automation (and also watch the accompanying video on that page as well for a complete walkthrough).
For this type of automation, we will be using a Customer automation, so you can go through the usual process of starting a one from the Engage tab in Metorik.
Selecting the correct audience
Once you reach step two of the email setup process, we will use the powerful Segmenting Tool to filter down on the birthday filter (or whatever field name you have that data stored under).
Next, make sure to check the Date checkbox, so that it will let you select the anniversary option from the dropdown options and you can then select is today.

Final steps
The rest of the process will be exactly the same as setting up any other customer automation. You can customize the layout and structure the content of the email to your liking, plus also add an automatic dynamic coupon code for them to use.
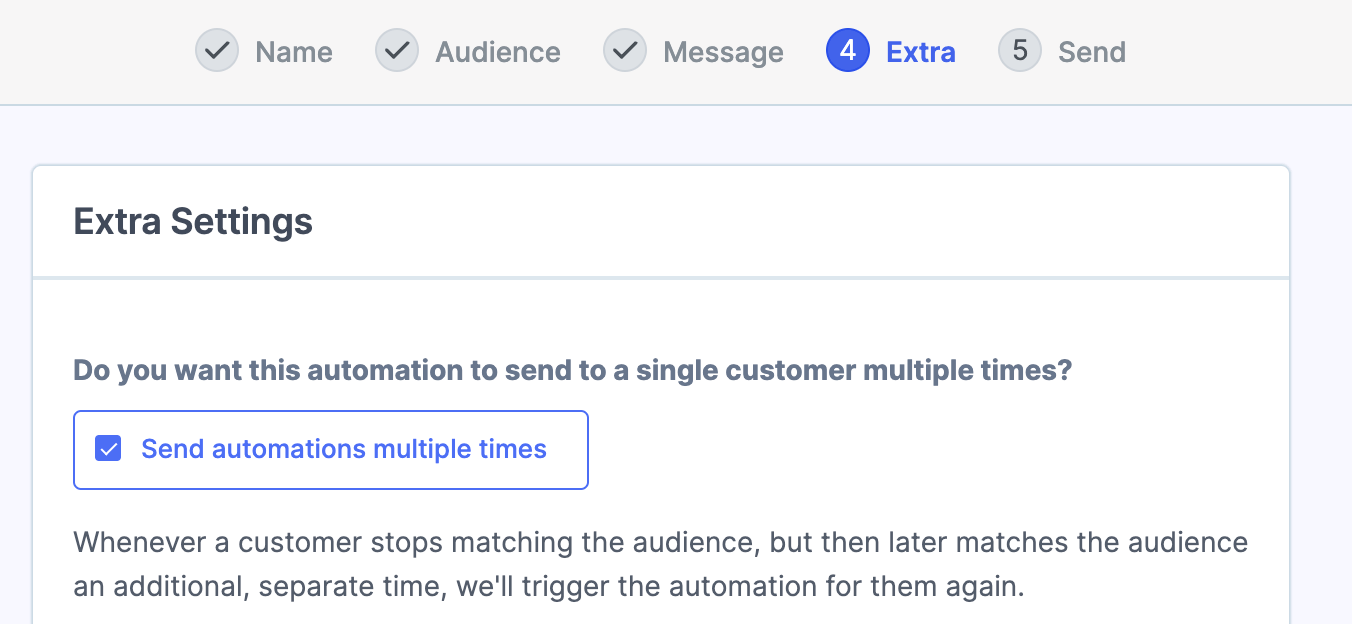
To make sure that the customer receives the email each year on the birthday, check the send multiple times option in the extra settings:

Or if you only want it to send once per customer, you can leave this setting unchecked:

Once you have activated the automation, any time it is a Customers birthday they will receive the email!
