Brands plugin
Metorik integrates with both the official WooCommerce Brands Plugin and the Perfect WooCommerce Brands Plugin.
In this example, we'll look at setting the brands using the WooCommerce Brands Plugin and then how we can see reports on them.
Setting the brands
Once you have installed and activated the plugin in WooCommerce, we can start adding brands.
First, navigate to WooCommerce > Products > Brands in the WooCommerce store admin area.
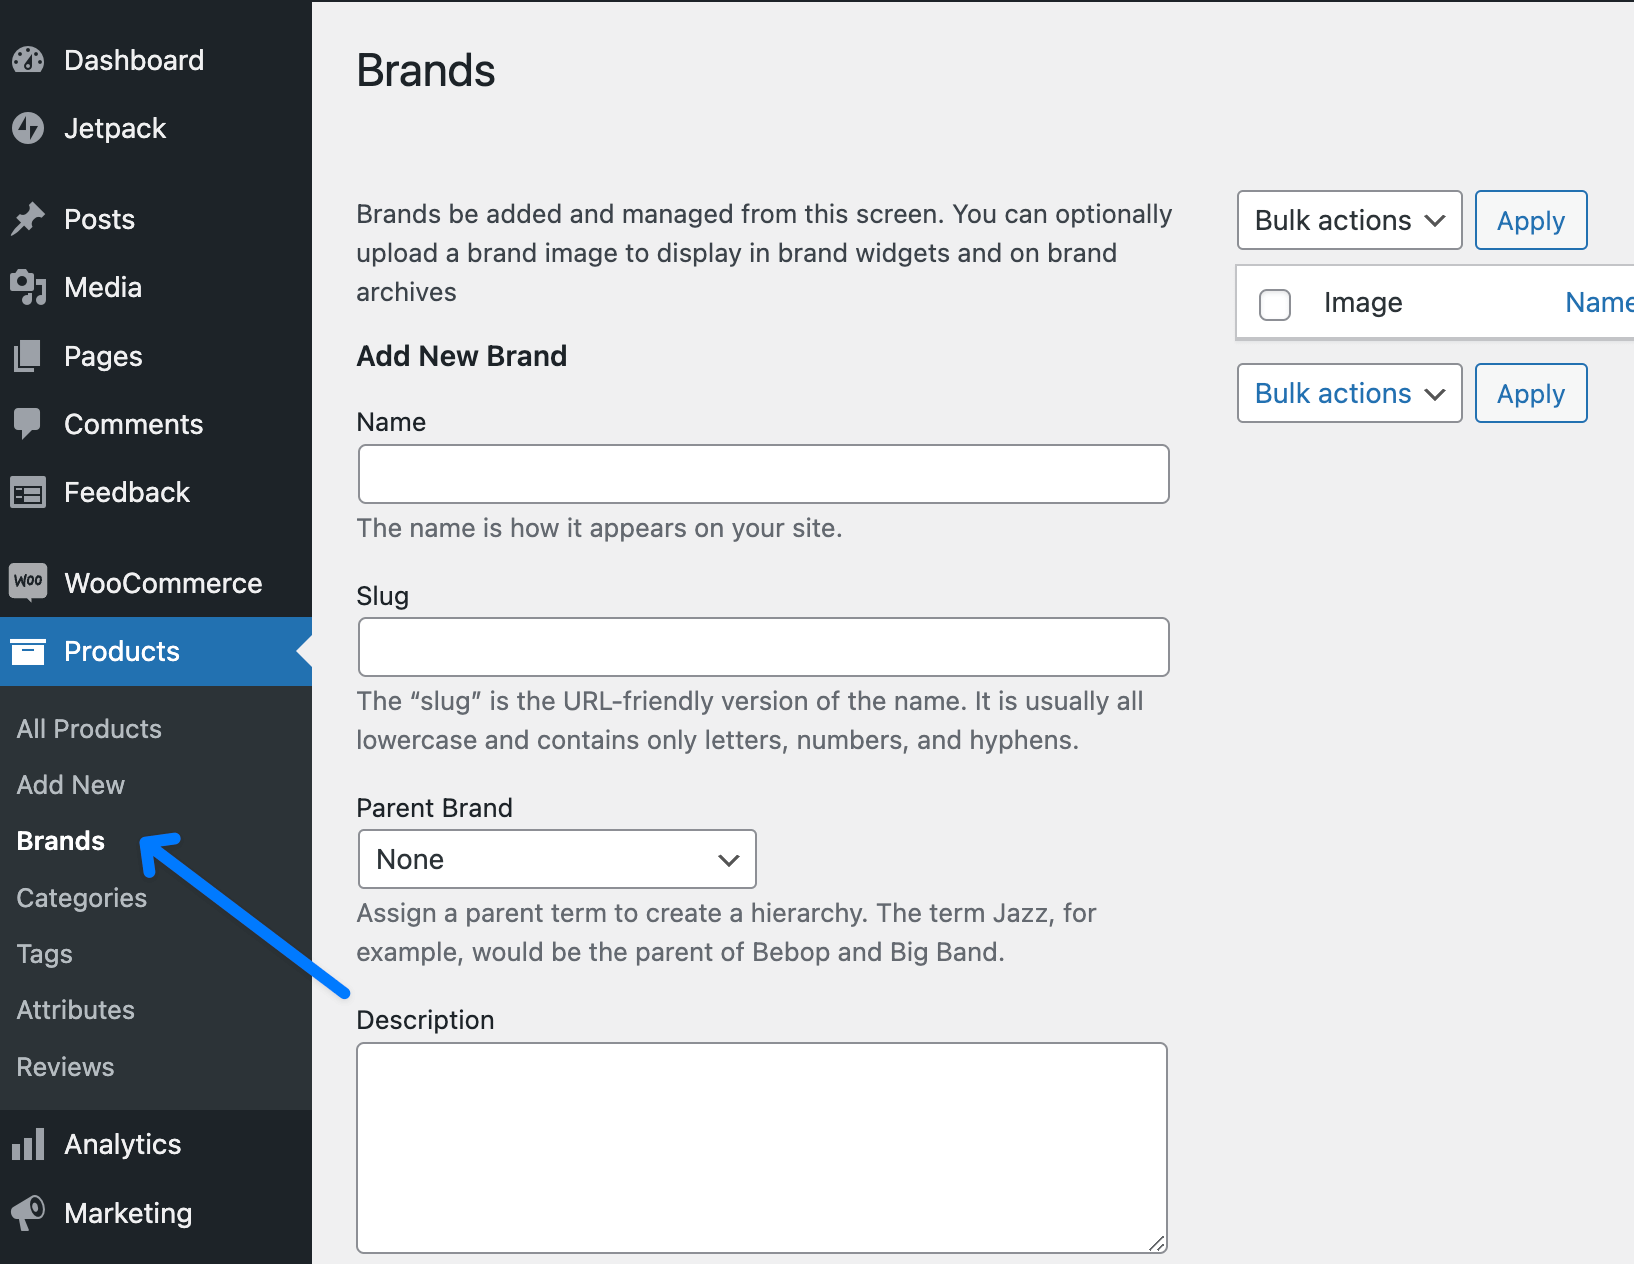
Then add a Name and Description, Brands can be hierarchical so we are able to add parent or child brands. You can also add an image but it's optional.
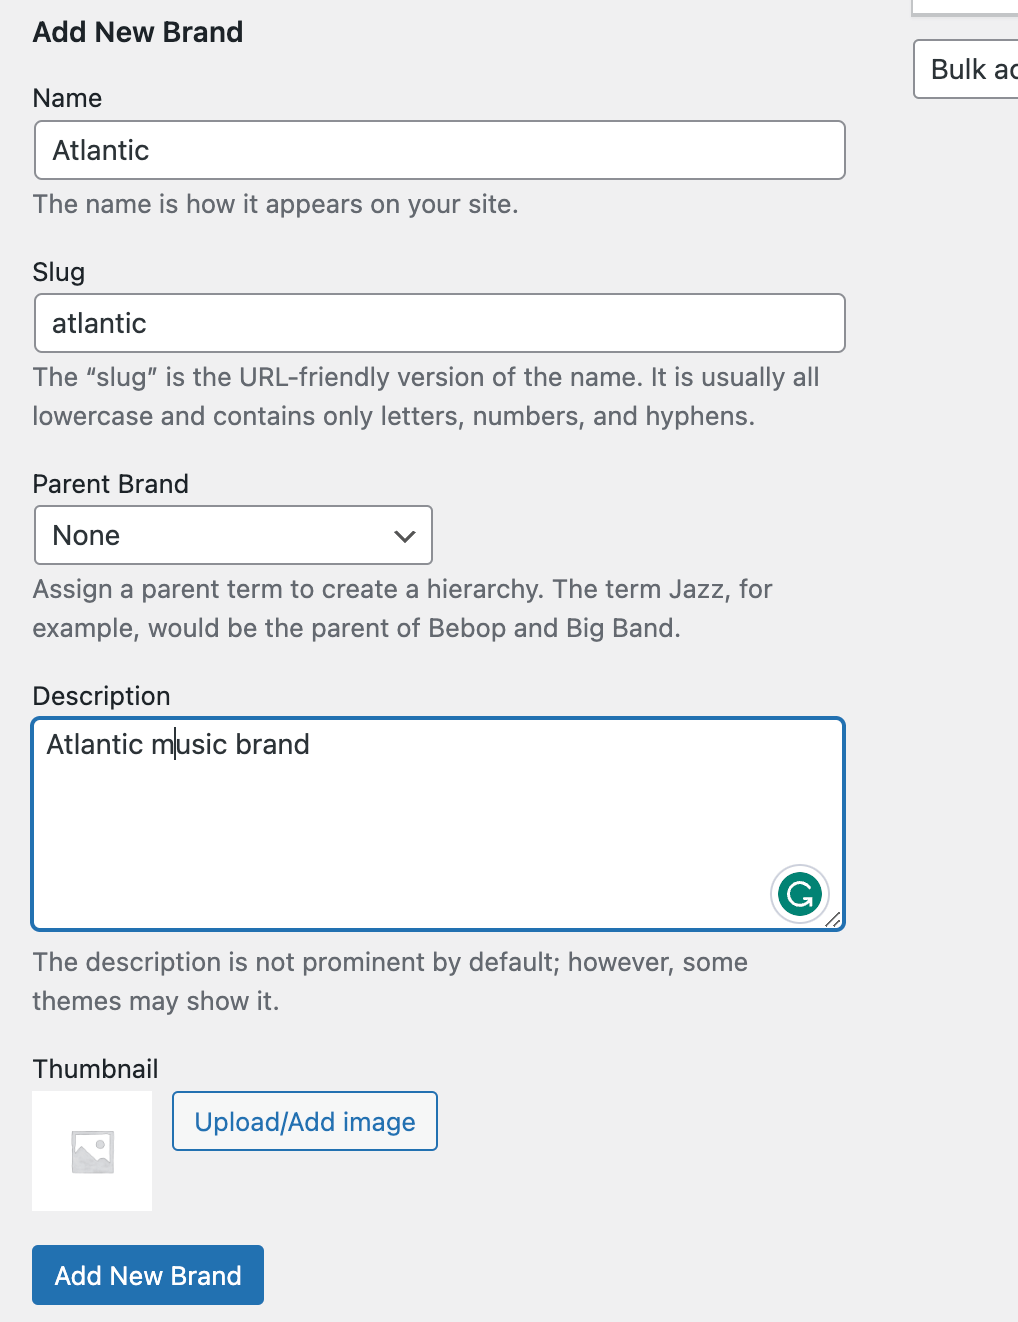
And then finally select the Add New Brand to save it.
Assigning a brand
This follows the same process as adding a Category in WooCommerce.
Navigate to WooCommerce > Products and select a product to assign a brand, and we can now see that there is a Brands box in the right sidebar.
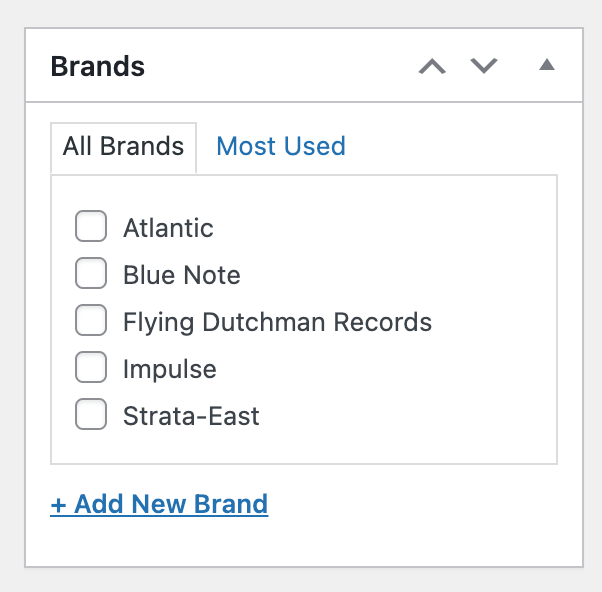
We can simply tick the Brands we wish to assign to the product and then update the product to save.
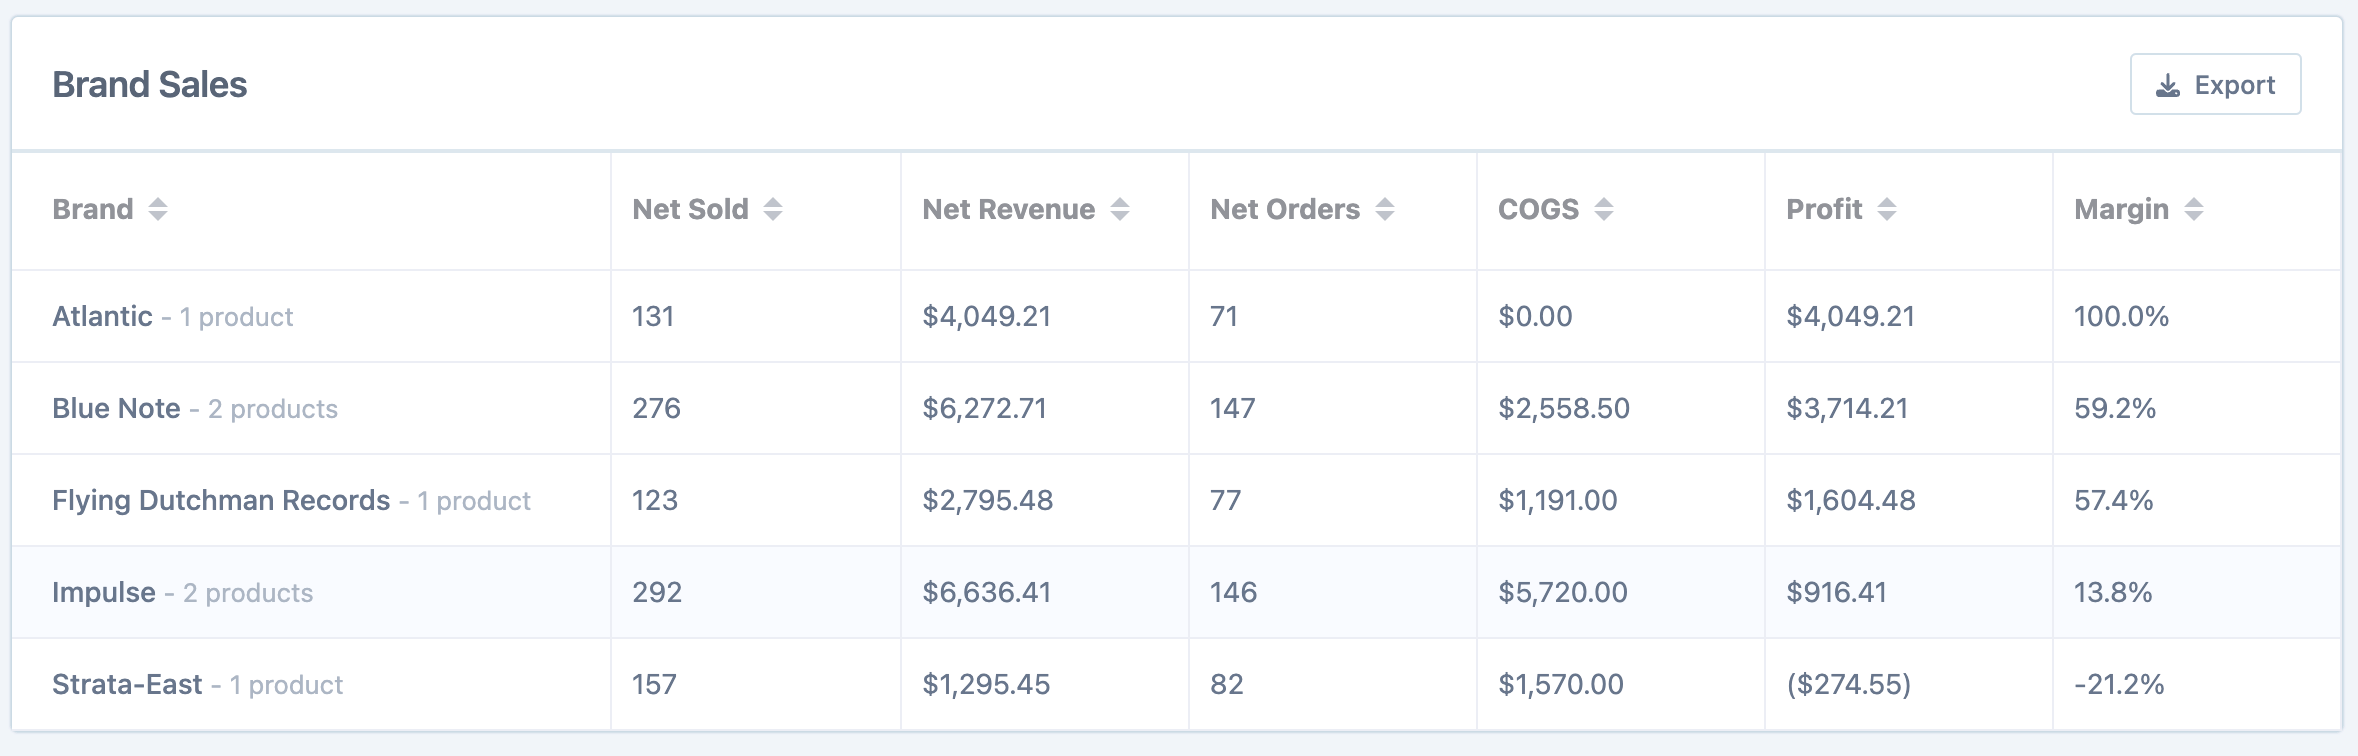
Brands Report
Now that the brands are set up in the store, we will be able to see the report by going to the Brands Report to see how all the different Brands are performing.
Note: If the COGS plugin is set up as well, there will be Profit and Margin data for each Brand also included.
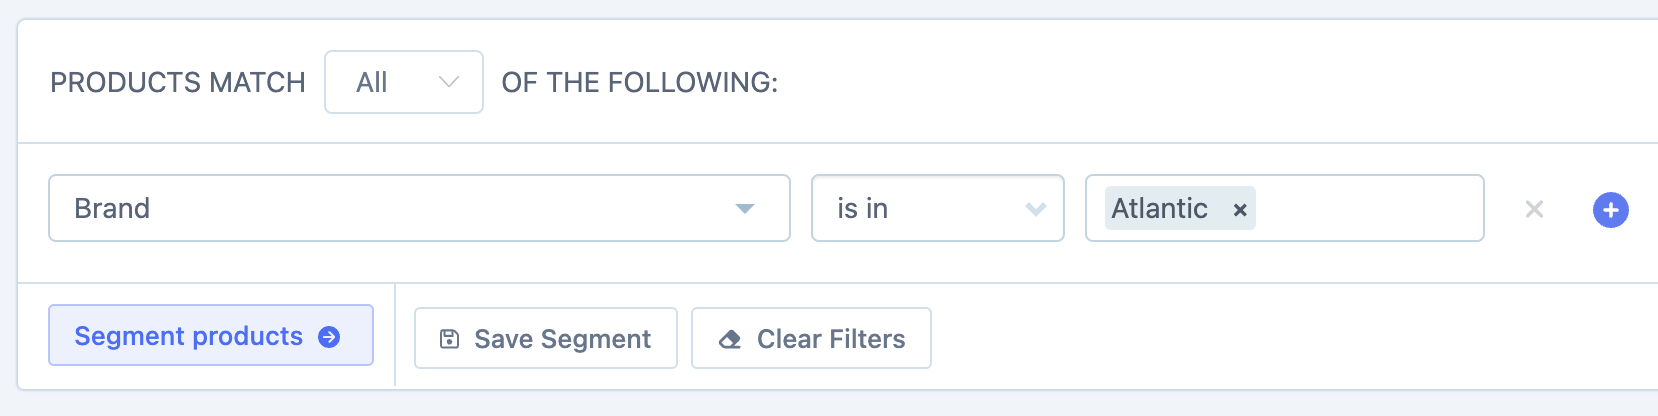
Filtering by Brand
From the Product Sales page, we can filter on all the different brands and even choose to exclude brands to get at the exact data we are looking for.
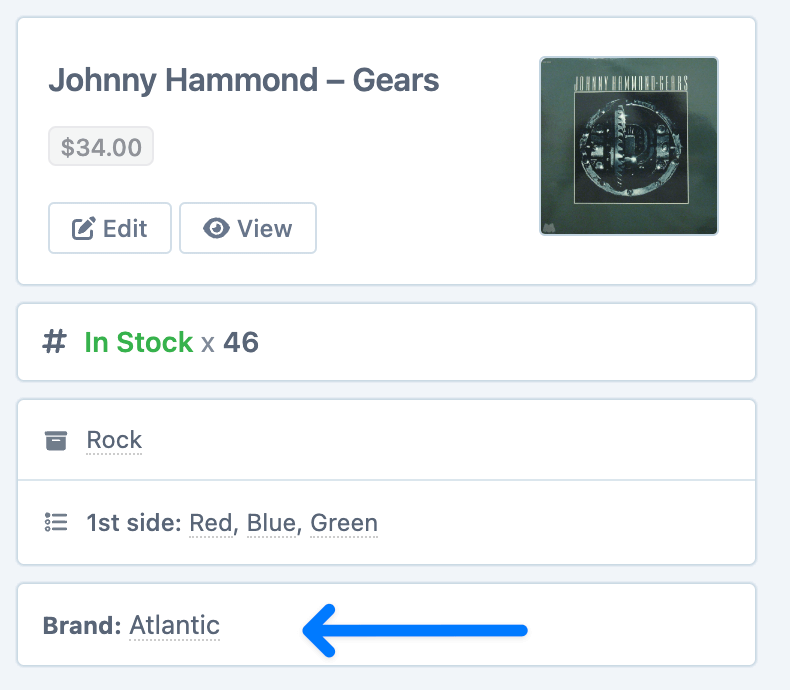
View Brand on Product Page
As a final thing, you can see the Brand that the Product is associated with in the Product Information section of any individual product.